What They Are, How They Work, and How to Fit Them
Motorcycle disc brakes are a key component of modern braking systems, offering strong, reliable stopping power. They work by pressing brake pads against a spinning disc (or rotor) attached to the wheel, using hydraulic calipers. This creates friction, converting motion into heat and slowing the motorcycle.
First introduced in 1962, disc brakes have become the industry standard—constantly evolving for better performance, durability, and safety.
Here’s a quick breakdown of the most common types:
A basic, one-piece disc. Simple, durable, and effective for everyday riding.
Mounted on bobbins that allow slight side-to-side movement. Helps reduce heat transfer to the hub, prevents warping, and improves caliper alignment.
Features a wave-shaped outer edge. Improves pad contact area and allows better heat dissipation.
Wave design for top-level braking efficiency and thermal management.
Drilled Holes: Allow water to drain quickly, reduce weight, and help keep the disc cooler.
Slots: Clear away brake dust, oil, and glazing for better grip and pad performance.
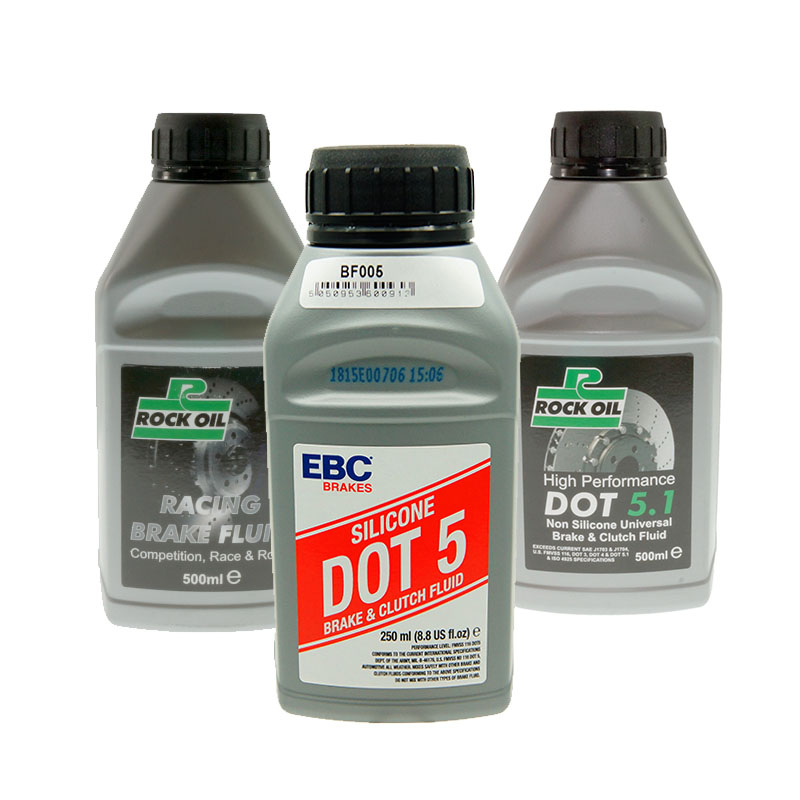
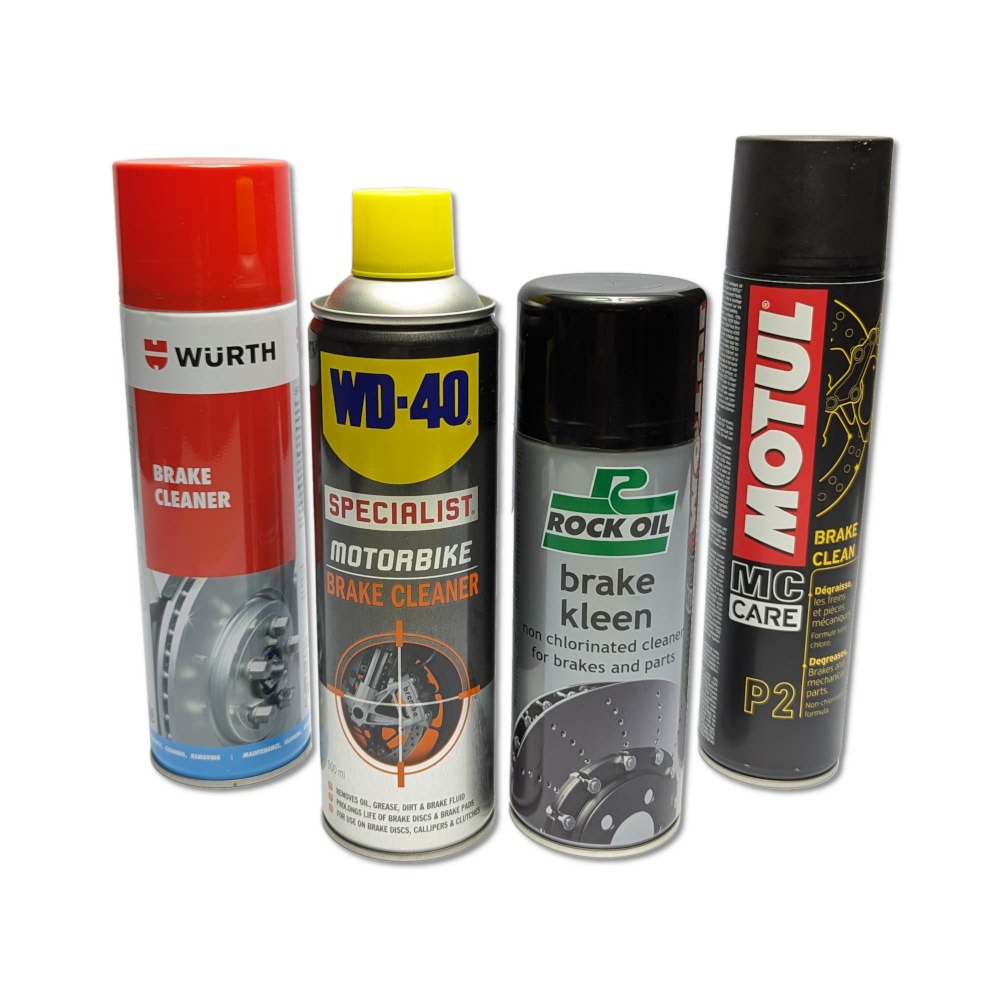
1. Clean Before Installing
New discs often have an oily coating—remove it with brake cleaner or soapy water before use.
2. Remove the Old Disc
Inspect mounting bolts—replace any damaged ones.
If bolts are stuck (common with factory torque or corrosion), use strong, controlled force.
Tip from mechanic Norman Grout: A few sharp hammer taps or, in tough cases, a chisel and big hammer may be needed.
3. Prep the Hub Surface
Clean off any dirt, rust, or debris to ensure the new disc sits flat and evenly.
4. Install the New Disc
Torque bolts to the manufacturer’s spec.
Make sure the disc sits flush and centered.
5. Align the Caliper
Check caliper pistons move freely.
Ensure it's clean and aligned squarely with the disc to avoid uneven wear or drag.
6. Replace Brake Pads
Always check pad wear. Worn pads can damage your new disc and reduce braking power.
Most disc manufacturers recommend replacing pads at the same time—failing to do so may void the warranty.
7. Bed In Your Brakes
Gently apply brakes during the first few rides.
Avoid hard stops until the new pads and disc have fully bedded in for optimal performance.
Regularly check for wear on both pads and discs.
Watch for signs of warping, glazing, or uneven contact.
Clean the braking area to prevent performance loss over time.
“Sometimes it takes a bit of controlled violence to remove stuck discs. Take your time, use quality tools—and yes, occasionally, a big hammer.”
— Norman Grout, Mechanic

 EN
EN